Free & simple Netlify forms for your frontend site
You are a frontend developer, in love with your beautiful site that you created yourself and deployed to Netlify. Now you want to add a contact me section to it, but don’t want to deal with backend development and deployment and maintenance for it. Third-party form services could be your answer, but they are too costly for your little site which is not going to have thousands or even hundreds of form responses. Hacking a Google Sheet script is also not a solution now since we are not living in 2010s anymore. So what do you do?
You do Forms. Netlify Forms!
I’ll skip the intro and directly show you two common implementations: one to a barebones HTML site, and other to a site which is built using some framework (such as Angular).
1. Implementing in a normal HTML page
-
Wherever you have your contact (or any other) form, simply add
data-netlify=trueattribute to it.<form data-netlify="true"> -
Give your form a
nameattribute as well. This attribute's value will determine what the form is called in the Netlify's interface.<form data-netlify="true" name="contact"> -
Specify the url as the
actionattribute which would appear when the form is submitted successfully, such as/contact/success. Note that this url must be relative to the root of your domain.<form data-netlify="true" name="contact" action="/contact/success"> -
All the inputs inside your
<form>element (which you want to collect) should have valid values for thenameattribute.<form data-netlify="true" name="contact" action="/contact/success"> <!-- Something something inputs here --> <input type="text" name="name"> <input type="email" name="email"> <!-- Something something inputs here --> </form> -
And that's it. You're done 🎉🎉🎉. Just commit these changes and deploy to Netlify to see your hard-work in action.
2. Implementing with a framework (example: Angular)
I'll use Angular here, since that is what I used recently with Netlify Forms. But the steps remain the same for others (like React).
- Netlify should be able to see the
data-netlifyattribute at deploy time, that means that typical approach of a SPA (generating HTML in the client site from JavaScript) won't work here. So you'll have to manually create a fake<form>tag in the HTML, which will be hidden from the users. We call this fake because this form won't be used in reality, it is just there to let Netlify know of our form structure at deploy time. For Angular, we'll write this inindex.html, in the<body>tag.
<form data-netlify="true" name="contact">
  <!-- Something something -->
</form>- Just like before, we have added the
data-netlify="true”attribute, a validnameattribute. Let's also hide this fake form since it won't be functioning anyway using inline-styles andhiddenattribute.
<form data-netlify="true" name="contact" style="display: none; opacity: 0; position: absolute;" hidden>
  <!-- Something something -->
</form>- Now, you'll have to list down all the inputs in this fake form with proper
nameattributes (that you will be collecting later from your Angular form). Again, we'll mark these inputshiddenas well (just to be safe).
<form data-netlify="true" name="contact" style="display: none; opacity: 0; position: absolute;" hidden>
  <input type="hidden" name="name">
  <input type="hidden" name="email">
  <input type="hidden" name="phone">
</form>-
Now Netlify is prepared to receive our form submissions via some API call.
-
So whenever you are ready (from the submit handler of the real form), make the POST API call with your parameters (that you want to record, that you whitelisted in the fake form) as shown below:
import { HttpClient, HttpHeaders, HttpParams } from '@angular/common/http';
// ...
submitForm(name: string, email: string, phone: string) {
  const urlToHit = "/";
  const dataToSend = new HttpParams()
      .set(`form-name`, "contact")
      .set(`name`, name)
      .set(`email`, email)
      .set(`phone`, phone);
    const httpOptions = {
      headers: new HttpHeaders({ 'Content-Type': 'application/x-www-form-urlencoded' }),
      observe: "response",
      responseType: "text",
    }
    return this.http.post(urlToHit, dataToSend.toString(), httpOptions);
}-
Notice the presence of one extra attribute which is being sent:
form-name. This is necessary, and it should match thenameattribute of your fake form. -
The values for the form fields are specified using
HttpParamsto convert our JSON object to a form-submission-friendly format. It makes object like{ a: 1, b: “Hello Netlify”}to a string likea=1&b=Hello%20Netlify. This is then converted fromHttpParamstostringbefore sending. -
observe: "response"withresponseType: "text"is used in thehttpOptionsbecause a successful Netlify response returns an HTML page which Angular cannot decode to JSON, so we need to specify that we are not expecting a JSON response, but a text response. -
And voila, you are done! 🎉🎉🎉 Commit and push these changes to Netlify and see your work in action.
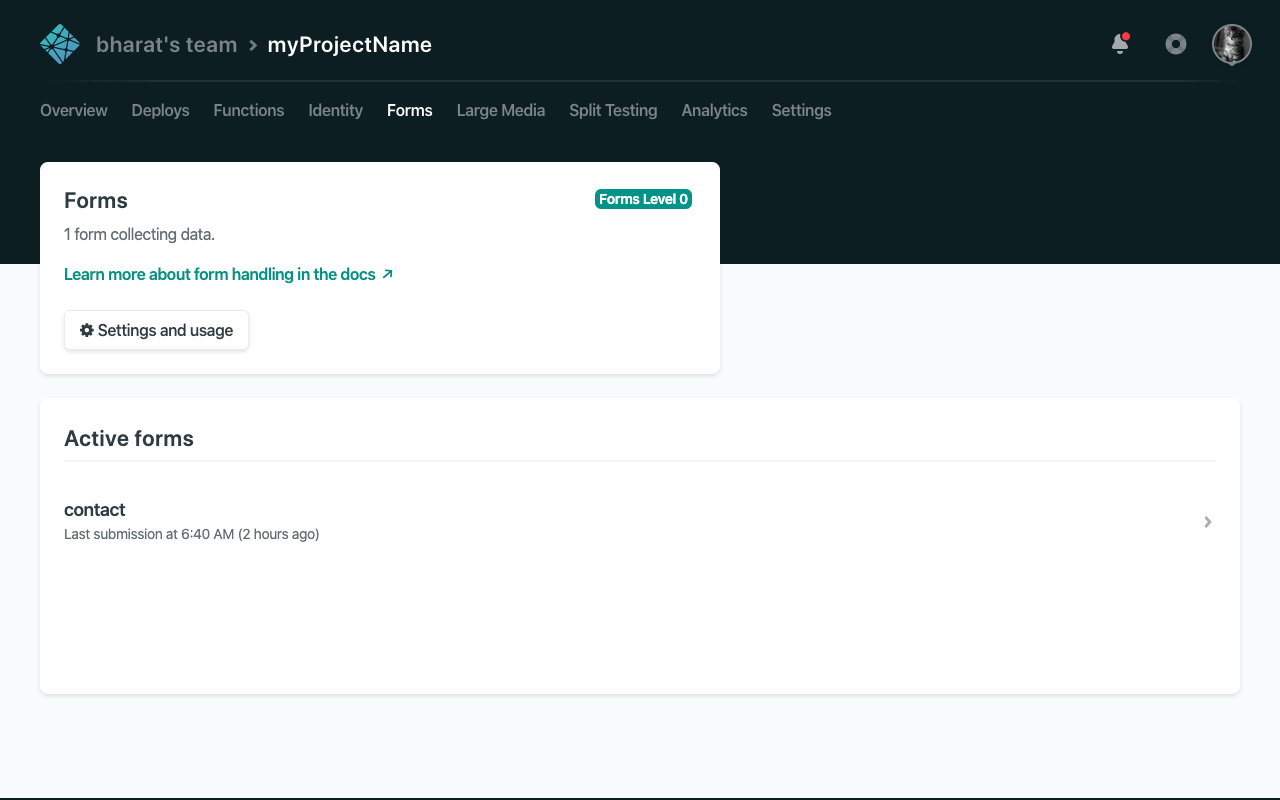
Screenshots of what you just achieved
List of active forms in your project (like the contact form here):
How your submissions will appear inside a form:
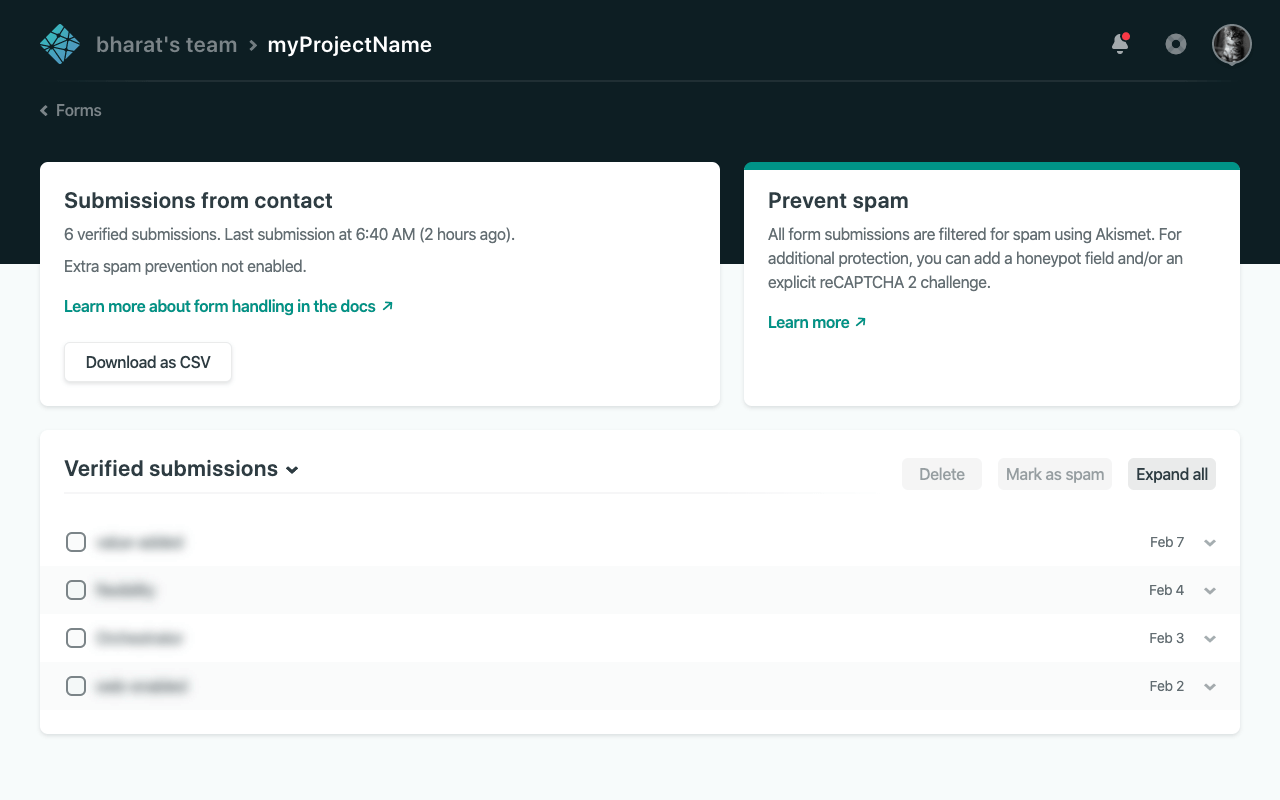
You can expand each submission to view the details captured (like name, email and phone shown here):

Extra Awesomeness 🔥
- You can also allow uploading files in your forms (though take care of the upload limit in your free tier of Netlify).
- You can export your form submissions as CSV from the Netlify interface.
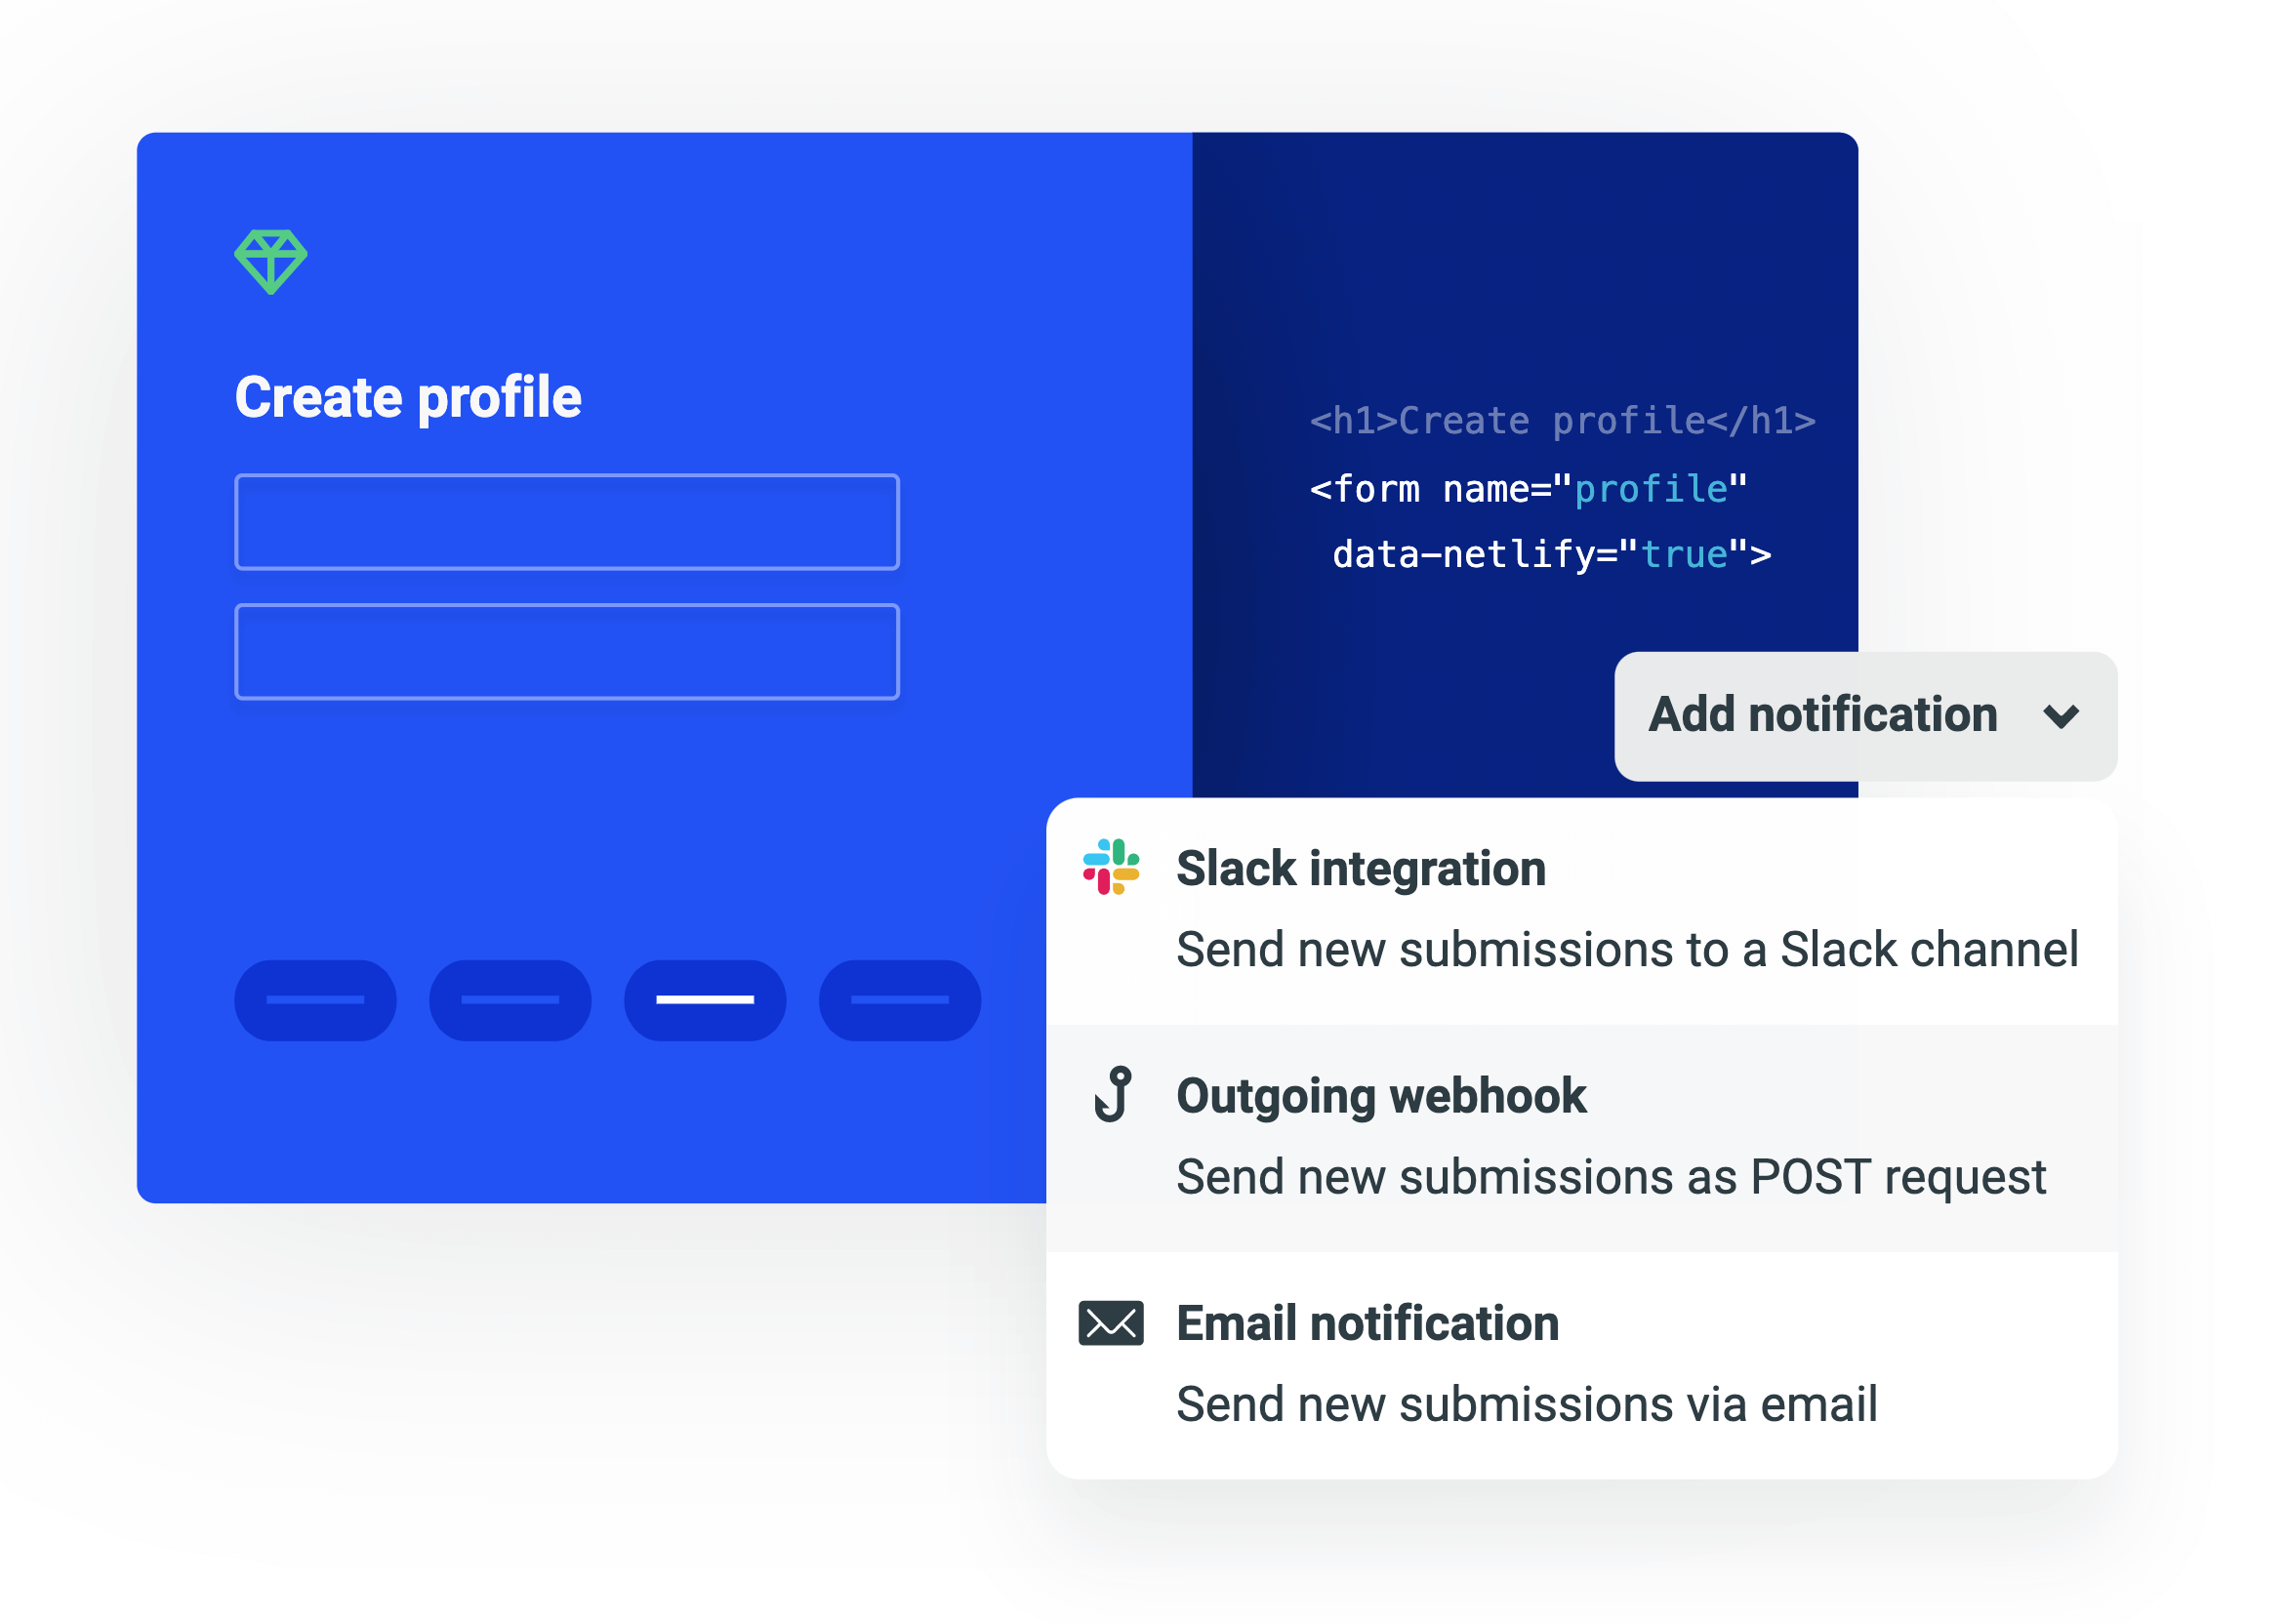
- You can trigger a notification (such as Slack integration or an email alert) whenever your form receives a submission, again, from the Netlify interface.
A lot more is possible with Netlify Forms, but we'll leave it for another day. Feel free to email me at bharatramnani94@gmail.com if you want to learn more about topics related to this, or any other topic for that matter.
If you want to learn more, refer to the original documentation for Netlify Forms at Netlify Docs.